Floor graphic films: 10 most frequently asked questions
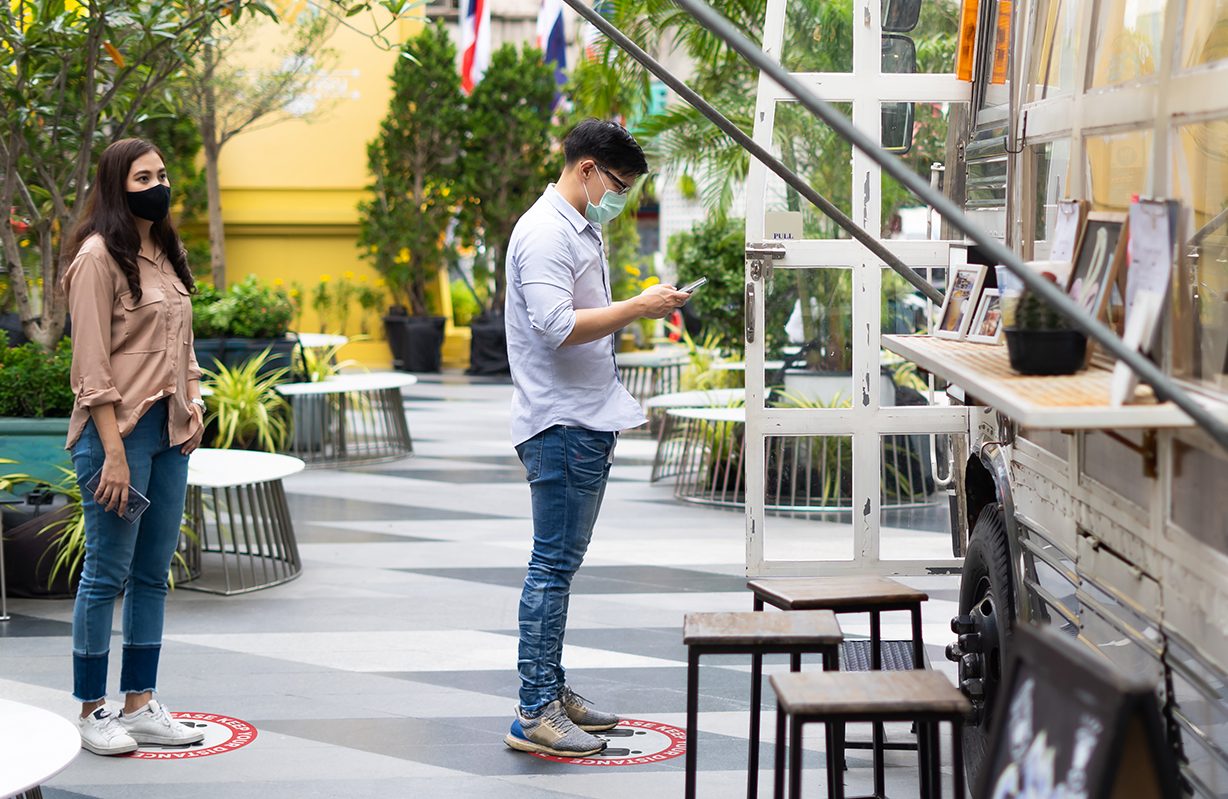
Due to the current situation, you can spot floor graphic films almost everywhere. They are a great way to guide people through buildings and reminding them of the distance they should keep from each other. While walking, people have a habit of slightly looking down, making sure that there is nothing in their way that might trip them trip. This makes floor graphics an extremely effective tool for advertising and as orientation aids. However, for many, the use of floor graphics also raises many questions. In this article, we will cover the ten most frequently asked questions when it comes to working with floor graphics
1. Do I need to use a laminating film?
Not all floor stickers need to be laminated. Floor stickers that feature a textured surface can be printed on directly without lamination. These 2 in 1 floor graphics are extremely cost and time-efficient. A product example from Neschen's range is the print 'n' walk portfolio. To find out whether you need to laminate your floor graphics, check the material already has an anti-slip certification. Many of the readily available floor stickers consist of a removable PVC in combination with a textured, non-slip laminate. The laminate protects the design from dirt and damage and prevents people from slipping.
2. When do I choose a 2 in 1 floor sticker and when do I need stickers with an additional laminate?
This choice greatly depends on the length you are planning to use the sticker for. Protective laminating films are ideal for long-term applications, as they protect the inks from mechanical stress.
For short-term applications, ranging from a few weeks for up to 3 months 2 in 1 floor stickers can be used. They are a quick and cost-efficient alternative.
3. Which type of adhesive is suitable for my application?
Not all floor decals are suitable for every type of substrate. For difficult substrates like asphalt, concrete, wood, carpet or pavement it is best to choose a solution with a high-tack adhesive. This ensures optimal adhesion. Especially on substrates with wide joints, a high-tack adhesive is the best choice. For "regular", smooth surfaces, floor decals with the commonly available, removable adhesive are usually sufficient. If you choose a floor decal with a dot-shaped adhesive, the decals are easy to apply without air getting trapped underneath, making them ideal for large-scale applications.
4. Can I apply floor graphics outdoors?
Whether floor decals can be used outdoors depends on the type of adhesive. Most of Neschen's print 'n' walk films are equipped with a water-based adhesive. These films are recommended for indoor use. However, UVprint 'n' walk power-tack has a high-tack adhesive that is suitable for indoor and outdoor applications in dry conditions, e.g. in areas that have a roof.
In stores or any area where people enter from the outside, the surface of the decal can get wet from rain or snow. To prevent accidents, it is paramount that these decals are equipped with a non-slip surface and have a certified slip resistance. So which type of decal to choose depends on the conditions. In humid environments or areas where people walk barefoot (e.g. swimming pools), there are different requirements in dry areas such as supermarkets
The commonly used anti-slip R rating makes it easy to decide which floor sticker to choose for what type of application. It is used to grade the slip resistance of all sorts of floor stickers. R9 is the lowest anti-slip rating and material classified with an R13 grade has the highest slip resistance. Material that is not certified will always be less suitable than certified material. The required R-value depends on the type of environment the sticker will be used in.
5. Overview of R values
| R - Value | Suited for |
| R9 | R9 is the lowest slip resistance and is only suited for areas where there is a low chance that the graphics are subjected to damp or wet conditions. Examples include offices or staircases. |
| R10 | R10 is suited for areas like entrances; stores; hospitals; classrooms; public restrooms; garages and basements... |
| R11 | The high slip resistance of R11 materials makes them ideal for kitchens in restaurants or environments where they are subjected to wet conditions, such as laboratories and laundromats... |
| R12 | R12 materials are suited for production facilities where fatty foods are being handled, large catering kitchens and industrial production facilities, where oil is being handled. |
| R13 | Suited for production facilities where large quantities of fatty and oily substances are being handled. |
6. What is the easiest way to apply floor graphics
- Make sure that the substrate is undamaged, clean and free of dust and grease.
- If there are any signs of oil on the surface, you can use alcohol or a soft solvent for cleaning. Ensure that all types of residues are removed before proceeding with other cleaning methods.
- Proceed with a mild cleaning agent that is free of any enzymes. Make sure that the entire surface is cleaned properly and that the cleaning agent is removed without leaving any residue.
- The cleaned area should be at least 20cm larger (in all directions) than the actual area the graphic will be applied to.
- Make sure that the floor is dry and clean. When wiping the surface dry, use lint-free cloths only.
- Partially remove the film from its liner and press one part onto the application surface. Then slowly and evenly remove the remaining material from its liner while pressing the graphic onto the application surface. For best results, try to avoid that the edges of the sticker overlap over gaps and joints in the flooring. Use a squeegee or roller to evenly apply the sticker from the center towards the edges. Watch out for trapped air and make sure that the entire sticker has full contact with the substrate.
- If possible, use a design with rounded corners such as circles, as sharp corners and edges easily peel off and curl.
7. What is the best way to remove floor stickers?
Correct removal of your floor graphics ensures that no adhesive residue is left behind. If you slowly peel off the decal at an angle (usually between 90 degrees and 135 degrees) it usually does not leave any residue behind.
8. How long do your floor graphics last?
How long can you use floor stickers for greatly depends on the type of application, the amount of foot traffic they are subjected to, and the type of environment they are used in. Recommendations in terms of durability can be found in the technical data sheet of each material. During a one-year test phase, Neschen tested various floor graphics media in a supermarket. The graphics were applied at the cash registers and subjected to around 12,000 pedestrians and 30 cleaning cycles of a heavy-duty cleaning machine. After the test phase a team of experts evaluated each material a full report of this is available upon request.
9. Which type of ink should I use?
The type of ink you use affects the durability of your floor graphics. Not all inks are equally scratch resistant. If you choose to combine PVC with an anti-slip laminate, the ink layer is already protected against scratches or abrasion. However, if you choose a 2 in 1 floor sticker material, it is important to consider the type of ink you will be using. These materials are best printed with UV inks, the durability is then about 3 months depending on the circumstances.
10. Can I test your materials?
The type of application you are planning usually determines the choice of material. Since it is impossible to test every material on every possible substrate and under all conditions, we advise our customers to test the material they are planning to use please feel free to contact PSW Paper & Print for a free sample.


